What We’re Going For in This Build
There are a lot of ways to build an AR-15, and there probably isn’t such a thing as the objectively “ultimate” rifle. Different shooters have different priorities, different budgets, and different ideas about what makes a rifle better.
For this build, we weren’t trying to build the cheapest rifle possible, and we weren’t trying to select the most expensive part in every category. We wanted to build our ultimate general-purpose AR-15 using components available from Primary Arms, with an emphasis on quality, reliability, manageable weight, and the way we actually prefer to set up and shoot a rifle.
Prices change, and Primary Arms regularly runs sales and promotions. The prices listed here are simply what each component cost when this article was written. Use the links throughout the article to check current pricing and availability.
Disclosure: This article was created independently by Casual Firearms and was not sponsored by Primary Arms or any manufacturer featured in the build. Product availability, pricing, and our relationships with retailers may change over time. Some links on Casual Firearms may be affiliate links, which can earn us a commission at no additional cost to you.
Starting With BCM MK2
We started with Bravo Company Manufacturing because BCM has earned a reputation for producing high-quality, dependable rifles without immediately pushing you into some of the more expensive corners of the AR market. We specifically selected their MK2 components because this isn’t intended to be a budget build. (Click here to get more familiar with the MK2 and why we selected it as the base of our ultimate build.)
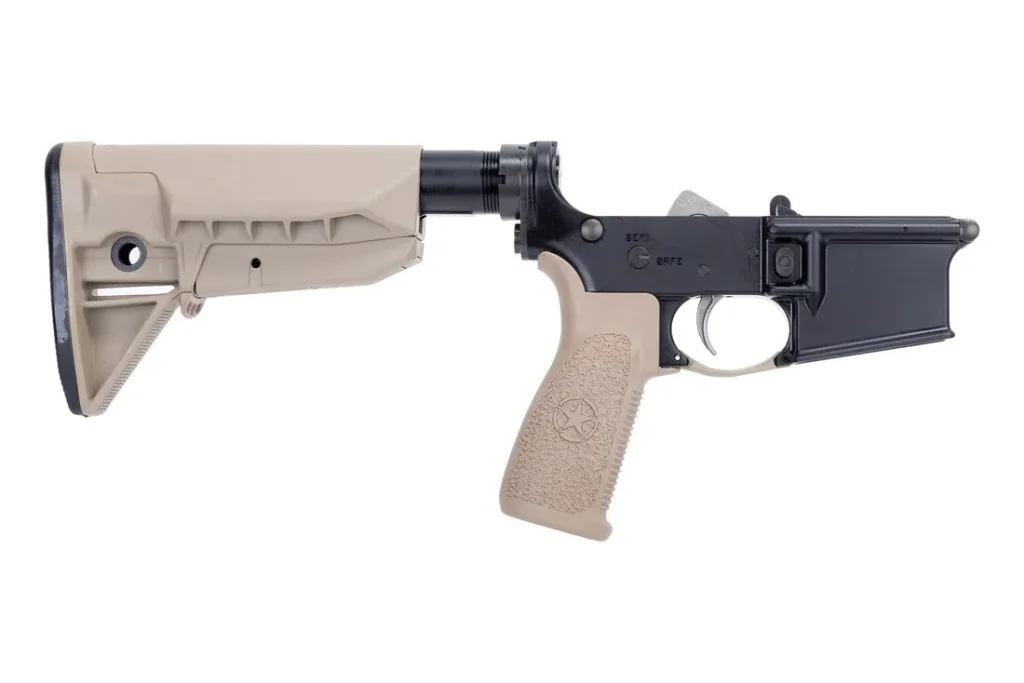
The BCM MK2 complete lower was $549, and we paired it with the MK2 BFH Enhanced Lightweight 14.5″ upper with the MCMR-13 handguard for $914.99.
Could we spend considerably more money on an AR-15? Absolutely. Would the resulting rifle necessarily be better for what we’re trying to accomplish? That’s where “better” becomes subjective. The short answer is “No, probably not.”
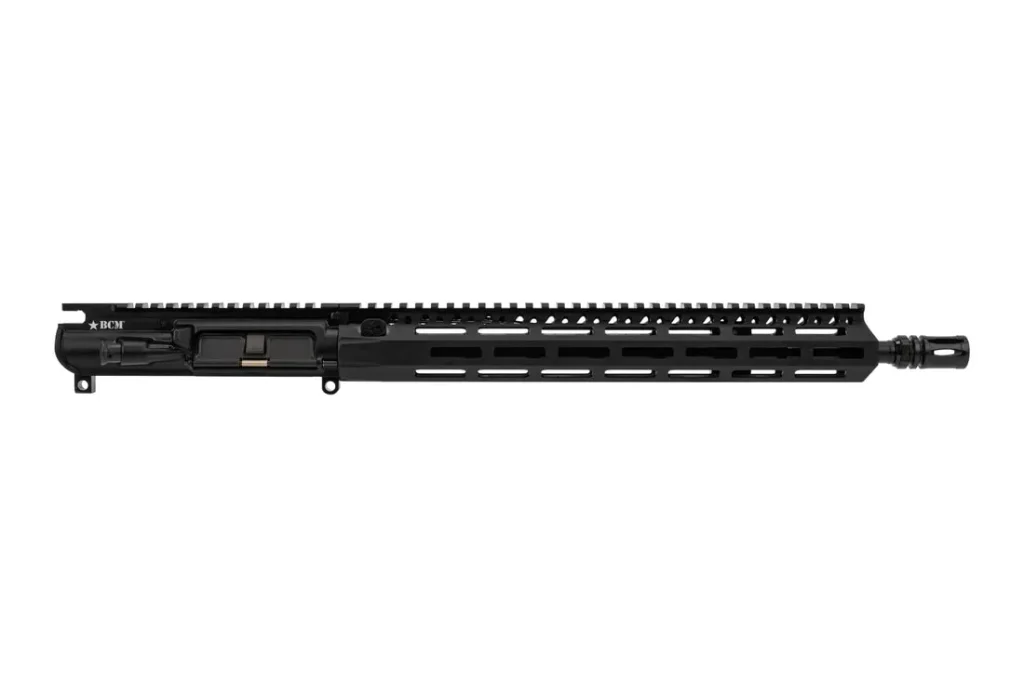
The Enhanced Lightweight barrel also fits one of the primary goals of this build: keep unnecessary weight off the rifle. Weight adds up surprisingly quickly once you start adding an optic, sling, mounting hardware, light, and eventually a suppressor.
Keep the Charging Handle Reasonable
For the charging handle, we chose the BCM GUNFIGHTER MK2 ambidextrous charging handle with the medium latch for $89.95.
Large charging handles can look appealing. More surface area must make the rifle easier to manipulate, right?
Maybe. Until you spend a bunch of time actually carrying the rifle on a sling.
An oversized charging-handle latch sticking into your chest has a wonderful way of making you reconsider your purchasing decisions. The medium latch gives us plenty of purchase for manipulating the rifle without unnecessarily increasing the rifle’s profile. Not to mention (okay, we’re mentioning) the MK2 relocated the forward assist to allow for better engagement of the charging handle under stress.
If you actually carry and sling your rifle regularly, you’ll probably thank us for this one.
Rail Panels Instead of a Vertical Grip
Rather than automatically adding a vertical foregrip, we went with a $9.95 pack of BCM M-LOK rail panels.
This was as much a training decision as a hardware decision.
Many shooters benefit from having texture on the handguard that provides a repeatable tactile index for the support hand without dictating exactly how that hand needs to grip the rifle. Rail panels give us that reference point while still allowing a relatively neutral support-hand and arm position.
A vertical grip can certainly be useful, but it can also encourage some shooters to aggressively pull the rifle back into the shoulder harder than necessary. More tension isn’t automatically more control.
For this rifle, we’d rather have texture and an index point without adding another protruding component or encouraging unnecessary tension.
It also happens to save a little weight.
A Practical Optic
For the optic, we chose the Holosun AEMS PRO X2 Multi-Reticle at $399.99.
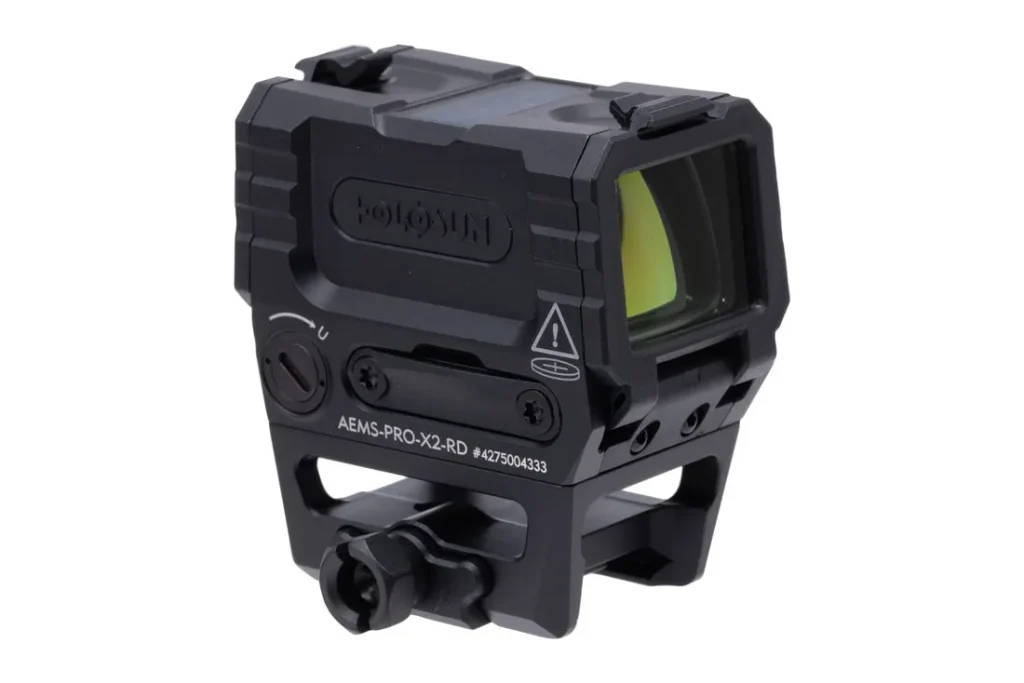
Our priorities here were straightforward: reliability, relatively low weight, a generous viewing window, and an optic that makes sense on a general-purpose rifle.
We could easily spend considerably more money on an optic, but that’s not what this build is about. Spending more doesn’t automatically make something more appropriate for the rifle.
The AEMS gives us the combination of size, weight, capability, and usable window that we were looking for without turning the optic into one of the most expensive components on the rifle. For this build, the AEMS is our alternative to spending Aimpoint T2 money, while still getting a more modern optic.
The Sling Gets a Little Personality
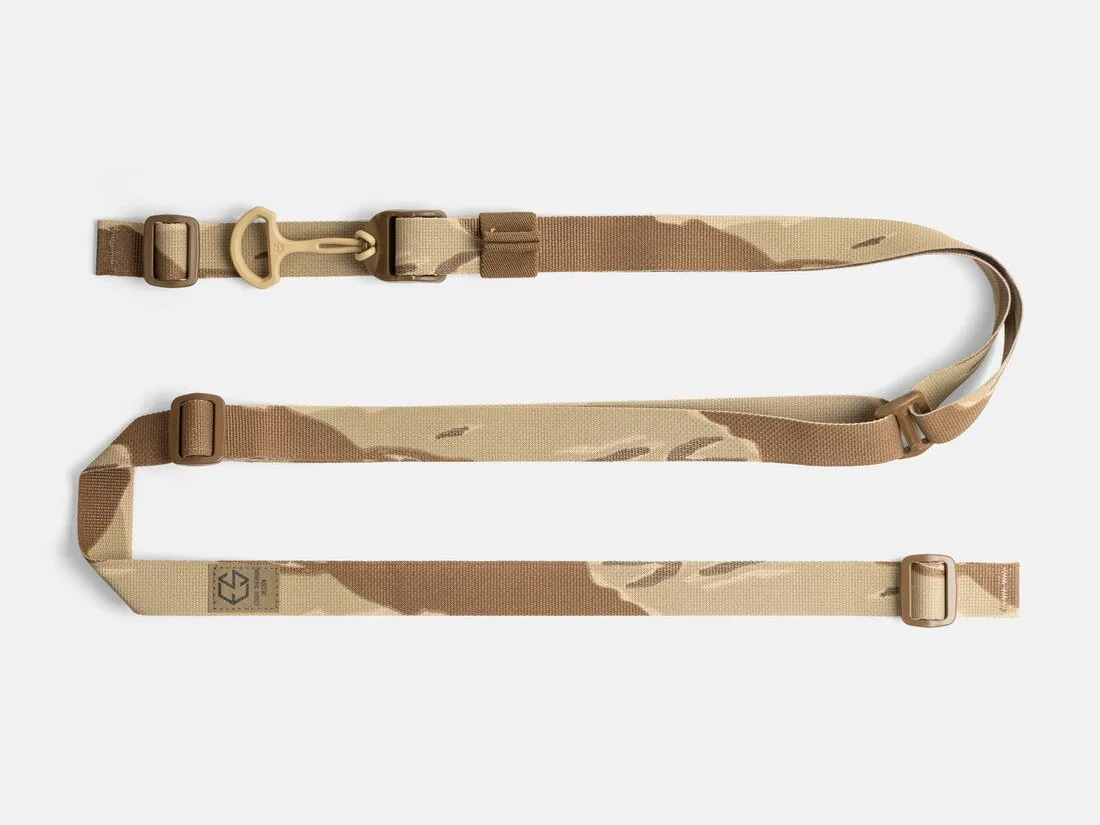
Not every decision needs a ten-paragraph technical justification.
We chose an Edgar Sherman Design ESD Sling in Desert Tiger Stripe for $50 because ESD makes a solid sling and, frankly, Desert Tiger Stripe looks cool.
The rest of the sling setup consists of a $17.95 BCM M-LOK QD sling mount and two $13.95 BCM heavy-duty QD swivels. We like to have one sling mount far forward, and the other as far back on the side of the rail as possible.
It’s our ultimate rifle. We’re allowed to have a little fun with it.
What About a Weapon Light?
We went back and forth on including a weapon-mounted light because we don’t routinely run lights on our rifles. We don’t believe in adding equipment to a rifle simply because somebody on the internet says every rifle needs to have it.
That said, if we’re going to include a rifle light on our ultimate build, we’re going with Streamlight.
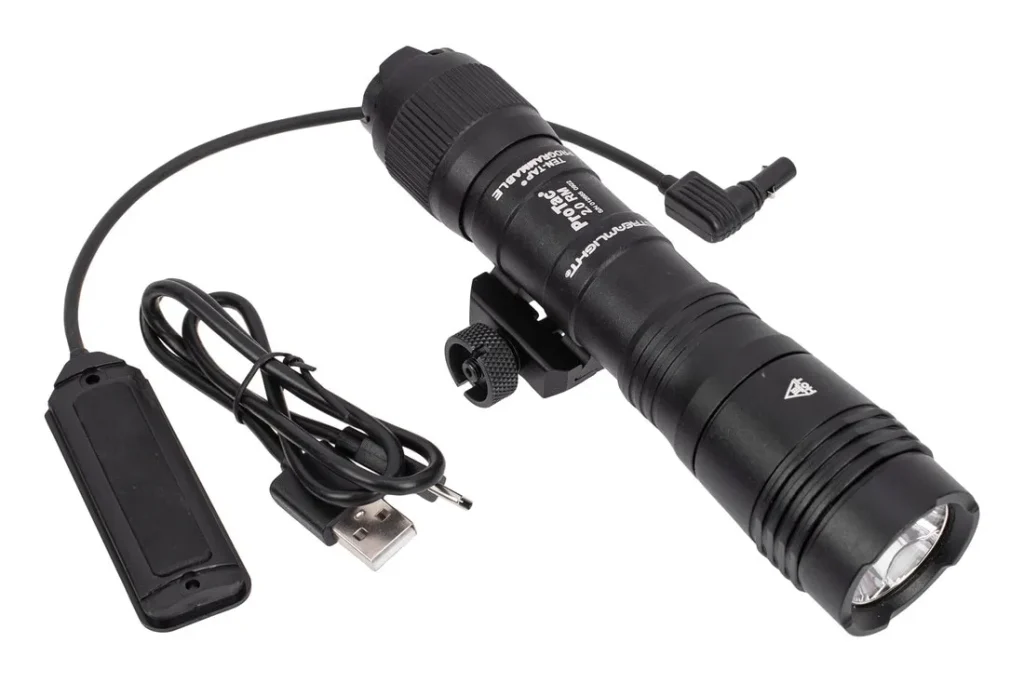
We selected the Streamlight ProTac 2.0 Rail Mount for $189.99. We’re already partial to Streamlight products, and the ProTac 2.0 gives us a powerful, proven rifle-light setup without getting unnecessarily exotic or expensive.
If your intended use doesn’t call for a weapon-mounted light, leave it off. That’s $189.99 and additional weight that doesn’t need to be hanging off the front of your rifle.
If you do want a light, this is the one we’d put on ours.
So, What Did We End Up With?
The rifle itself comes to $1,762.89.
Configured with the AEMS, ESD sling, and all of the necessary sling hardware, we’re at $2,258.73.
Add the Streamlight and our completely outfitted rifle comes to $2,448.72.
That’s certainly not a budget AR-15. But that wasn’t our intention.
We wanted a relatively lightweight, high-quality, general-purpose rifle built around BCM’s MK2 components, outfitted with equipment we’d actually want to use, and without adding parts simply because an “ultimate build” is supposedly required to have them.
Could you spend more? Easily.
Could you spend less? Absolutely.
The more interesting question is whether spending more would actually make this rifle better for you.
Because ultimately, that’s what this build is about. Not building the most expensive AR-15 we can. Building the AR-15 we’d actually want.
Parts List
| Component | Item | Price |
|---|---|---|
| Lower | BCM MK2 Complete Lower, Mod 0 SOPMOD Stock, FDE | $549.00 |
| Upper | BCM MK2 BFH Enhanced Lightweight 14.5″ 5.56 Upper, MCMR-13 | $914.99 |
| BCG | BCM M16 Bolt Carrier Group | $199.00 |
| Charging Handle | BCM GUNFIGHTER MK2 Ambidextrous, Medium Latch | $89.95 |
| Rail Panels | BCM 5.5″ M-LOK Rail Panel Kit, 5-Pack, FDE | $9.95 |
| Optic | Holosun AEMS PRO X2 Multi-Reticle | $399.99 |
| Sling | Edgar Sherman Design ESD Sling, Desert Tiger Stripe | $50.00 |
| Sling Mount | BCMGUNFIGHTER M-LOK QD Sling Mount | $17.95 |
| QD Swivels ×2 | BCM GUNFIGHTER Heavy Duty QD Sling Swivels | $27.90 |
| Light | Streamlight ProTac 2.0 Rail Mount, 2,000 lumen | $189.99 |
| TOTAL | $2,448.72 |
What would you change?
This is our version of the Ultimate Practical Rifle Build. What would you keep, what would you swap, and what would your build look like?